Skip to contents

Tutorial

build_workflow() opens an interactive application that turns a data file and its metadata into a runnable Quarto (.qmd) workflow. It validates the inputs against the real importers, disables processing steps the metadata cannot support, and previews the generated document for download — while the code-first workflow it produces remains the reproducible artefact.

Time ~5 min  ·  Level Beginner  ·  Prerequisites MRMhub installed

Launching the builder

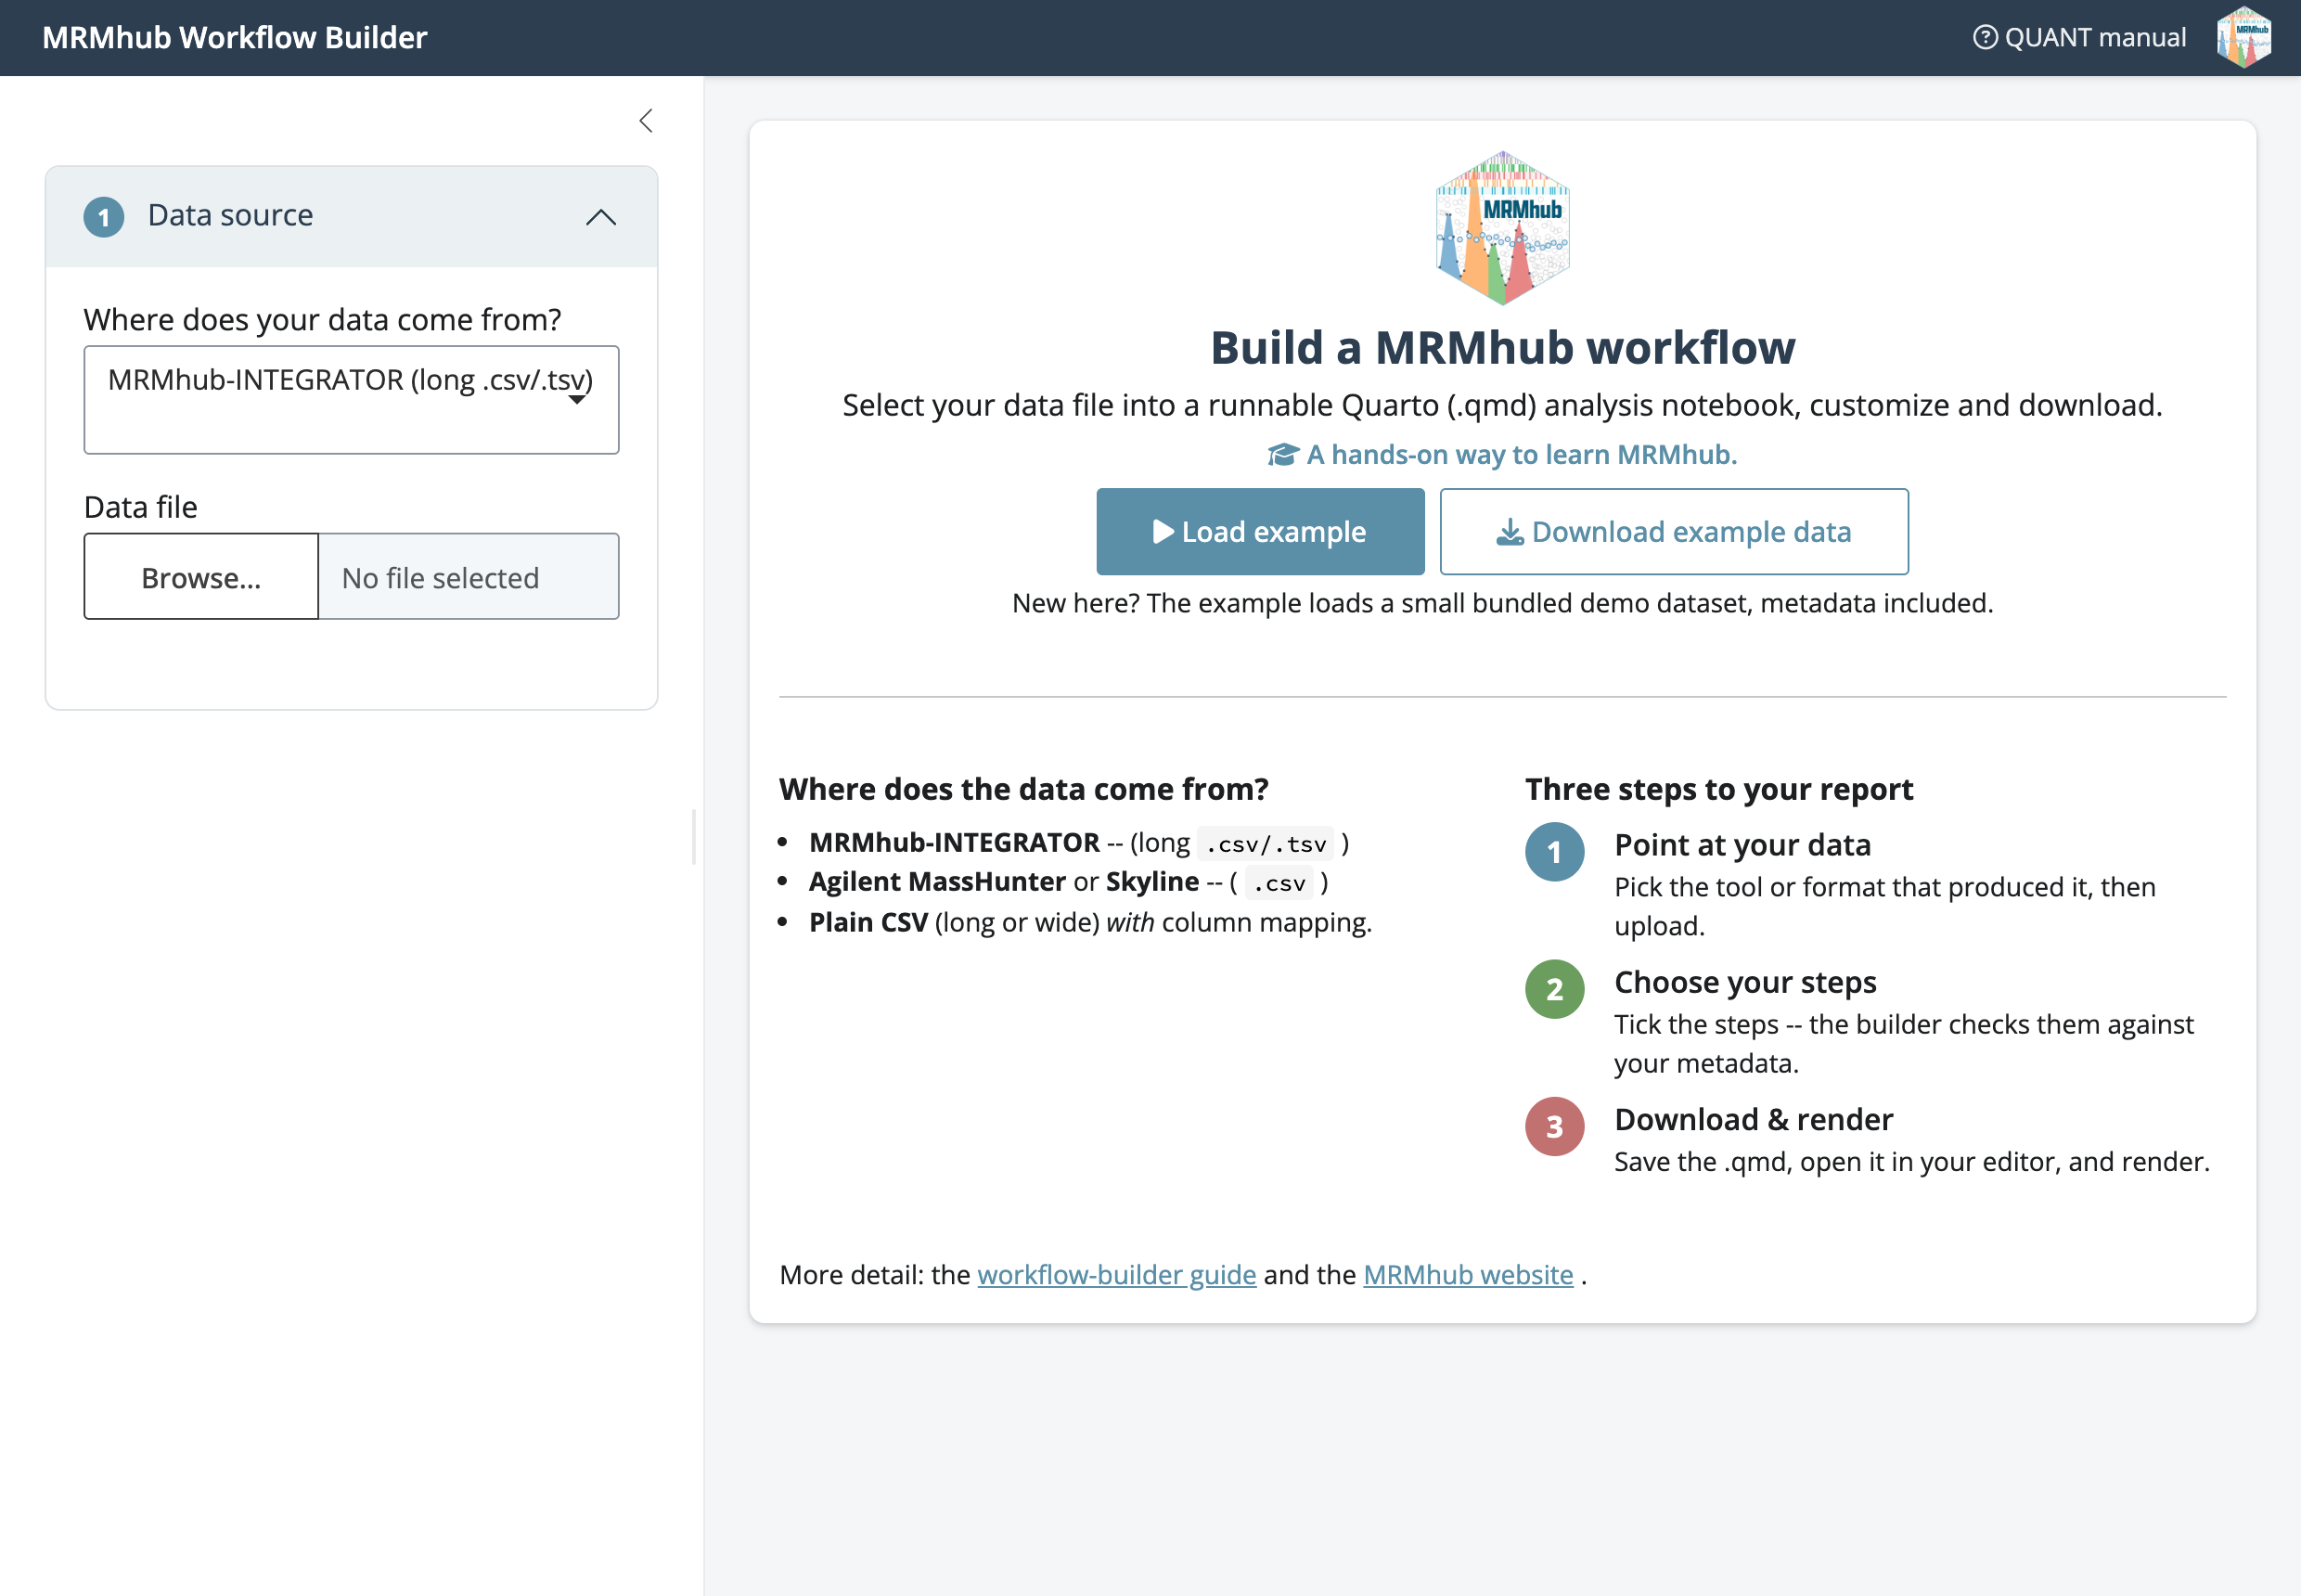
The application runs locally in the default browser. It depends on the shiny and bslib packages; if either is missing, the first call prompts to install them (they are not pulled in when mrmhub itself is installed). To try the builder without any files of your own, use the Load bundled demo data button, which loads the INTEGRATOR demo dataset shipped with the package.

The sidebar, step by step

The sidebar is worked top to bottom in four numbered sections.

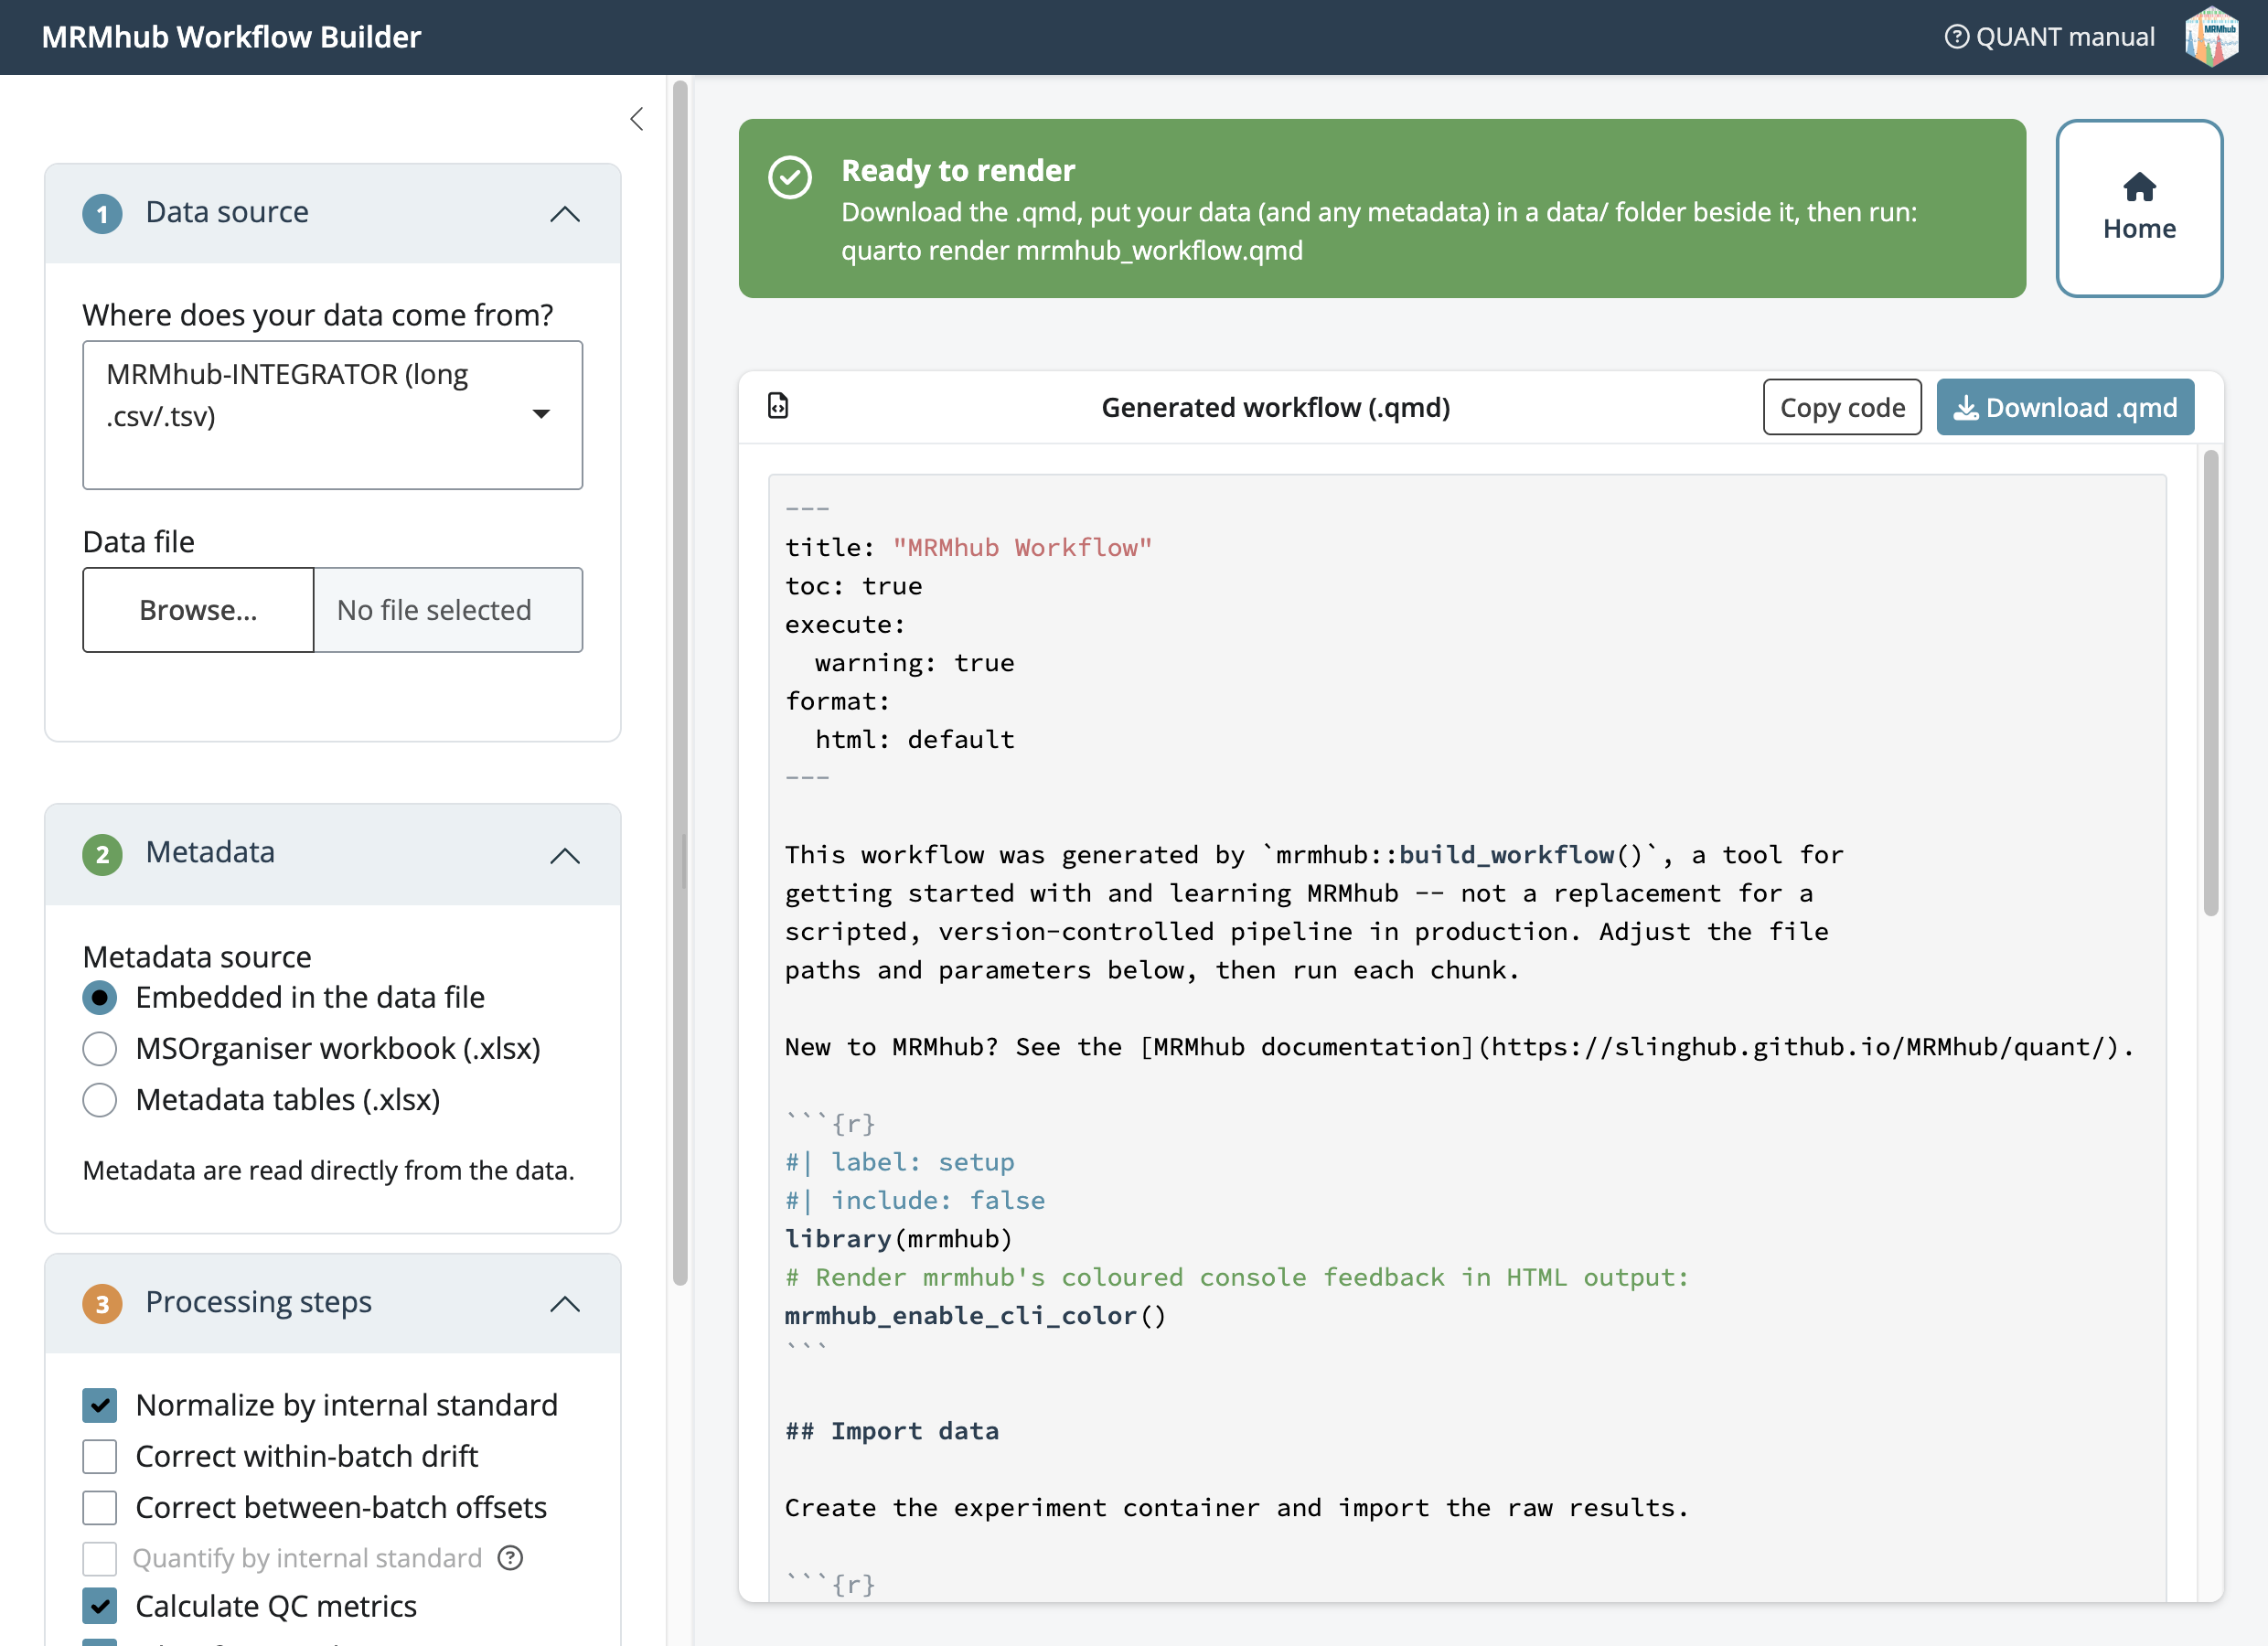
1 · Data source. Choose the tool or format that produced the data — this selects the matching importer (import_data_mrmhub(), import_data_masshunter(), import_data_skyline(), or the generic import_data_csv_long() / import_data_csv_wide()) — then upload the file. For a generic CSV the column names are not fixed, so a dialog opens to map them:

  • Long CSV — pick the columns holding the analysis id, the feature id, and the value, plus what the value represents (area, height, intensity, concentration, or normalised intensity). These become a column_mapping.
  • Wide CSV — state what the matrix values represent and, optionally, the analysis-id column and the index of the first feature column.

Until a generic CSV’s columns are mapped the data cannot be validated — this is the same requirement import_data_csv_long() enforces when it reports a missing feature_id column. The other importers read fixed column names and need no mapping.

2 · Metadata. Select where sample, feature, and internal-standard annotations come from: embedded in the data file, an MSOrganiser workbook, a multi-sheet metadata workbook, or individual files — separate CSVs for analyses, features, and ISTDs imported with import_metadata_analyses(), import_metadata_features(), and import_metadata_istds().

3 · Project folder. Optionally point the builder at a project directory (the Browse… button opens a native folder picker). When set, the uploaded files are copied into <folder>/data/, the report is written to <folder>/output/, and Create project & write .qmd lays down the directory structure with the workflow document beside it. Left empty, the generated code references the data file by the path shown in the Data file path field, which can be edited to an absolute path.

4 · Processing steps. Tick the steps to include. Steps whose metadata is absent are disabled and annotated with a short reason and an information icon carrying the full explanation — for example, Quantify by internal standard is disabled with “No ISTD concentrations” until an ISTD concentration table is imported. See Reading the validation panel below.

Drift and batch correction share a method selector (Gaussian kernel, cubic spline, or LOESS) that also sets the reference QC type: the Gaussian kernel uses study samples (SPL); spline and LOESS use pooled QCs (the first of BQC, TQC, or QC present in the data). Batch centring reuses the same reference. The corrected feature variable is chosen automatically as the highest processing level the selected steps reach — conc once a quantification step is included, otherwise norm_intensity, otherwise raw intensity.

Reading the validation panel

The Validation panel runs the selected steps’ preconditions against the imported experiment and reports one line per finding:

  • ✗ error — the import failed, or a selected step would abort (for example, normalize_by_istd() selected while no feature carries an istd_feature_id).
  • ⚠ warning — a step needs an upstream step or an optional field (for example, a drift reference QC type absent from the data).
  • ✓ ok — the data imported and the selected steps have no outstanding issues.

Because the panel calls the same importer and precondition checks as a scripted run, a workflow that validates cleanly here runs the same way from the console.

What it generates

The Generated workflow pane updates live as the sidebar changes. The YAML front matter records the title and the requested output formats:

---
title: "MRMhub Workflow"
toc: true
execute:
  warning: true
format:
  html: default
---

Each selected step then becomes its own ## section with an {r} chunk. For the demo dataset with normalisation, ISTD quantification, drift and batch correction, and QC filtering selected, and a project folder set, the emitted code is, in order:

mexp <- MRMhubExperiment()
mexp <- import_data_mrmhub(mexp, path = "data/MRMhub_demo.tsv", import_metadata = TRUE)

mexp <- normalize_by_istd(mexp)
mexp <- quantify_by_istd(mexp)

mexp <- correct_drift_gaussiankernel(mexp, variable = "conc", ref_qc_types = "SPL")
mexp <- correct_batch_centering(mexp, variable = "conc", ref_qc_types = "SPL")

mexp <- calc_qc_metrics(mexp)
mexp <- filter_features_qc(mexp, include_qualifier = FALSE, include_istd = FALSE)

save_report_xlsx(mexp, path = "output/results.xlsx")

The emitted calls and their argument defaults mirror the Basic MRMhub Workflow; the builder is a way to assemble that script, not a separate engine. Copy code copies the document to the clipboard, and Download .qmd (or the project button) writes it to disk.

Rendering the workflow

The Output format(s) control writes the requested Quarto formats into the document’s YAML — HTML, Word (.docx), and PDF may be combined. The PDF format is configured for a sans-serif typeface using the default LaTeX engine. Rendering is performed with Quarto once the document is saved:

quarto render mrmhub_workflow.qmd

The generated file is an ordinary Quarto document. Open it in RStudio, Positron, or VS Code, adjust paths or parameters, and run the chunks interactively — the builder is a starting point, not a black box.

For scripted use, the same document can be produced without the application by passing a specification list to generate_workflow_qmd().

Next Steps